Leather Boot Repair
Key Takeaways:
- Proper Care: Regular cleaning, conditioning, and the use of water-repellant treatments protect your leather boots and maintain their aesthetic appeal. These practices are crucial for extending the life of your footwear.
- Techniques for Repair: Learn valuable techniques for managing common issues such as scuffs, scratches, and loose stitching. This knowledge helps you maintain the structural integrity and aesthetic quality of your boots between professional services.
- When to Consult Experts: Understanding the limits of home repairs and recognizing when to seek professional help can save you time and ensure your boots are properly cared for. Professionals possess the skills and tools necessary for more advanced repairs and can help extend the lifespan of your boots significantly.
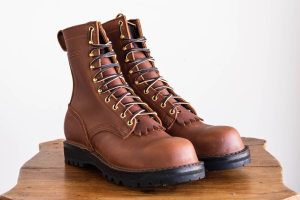
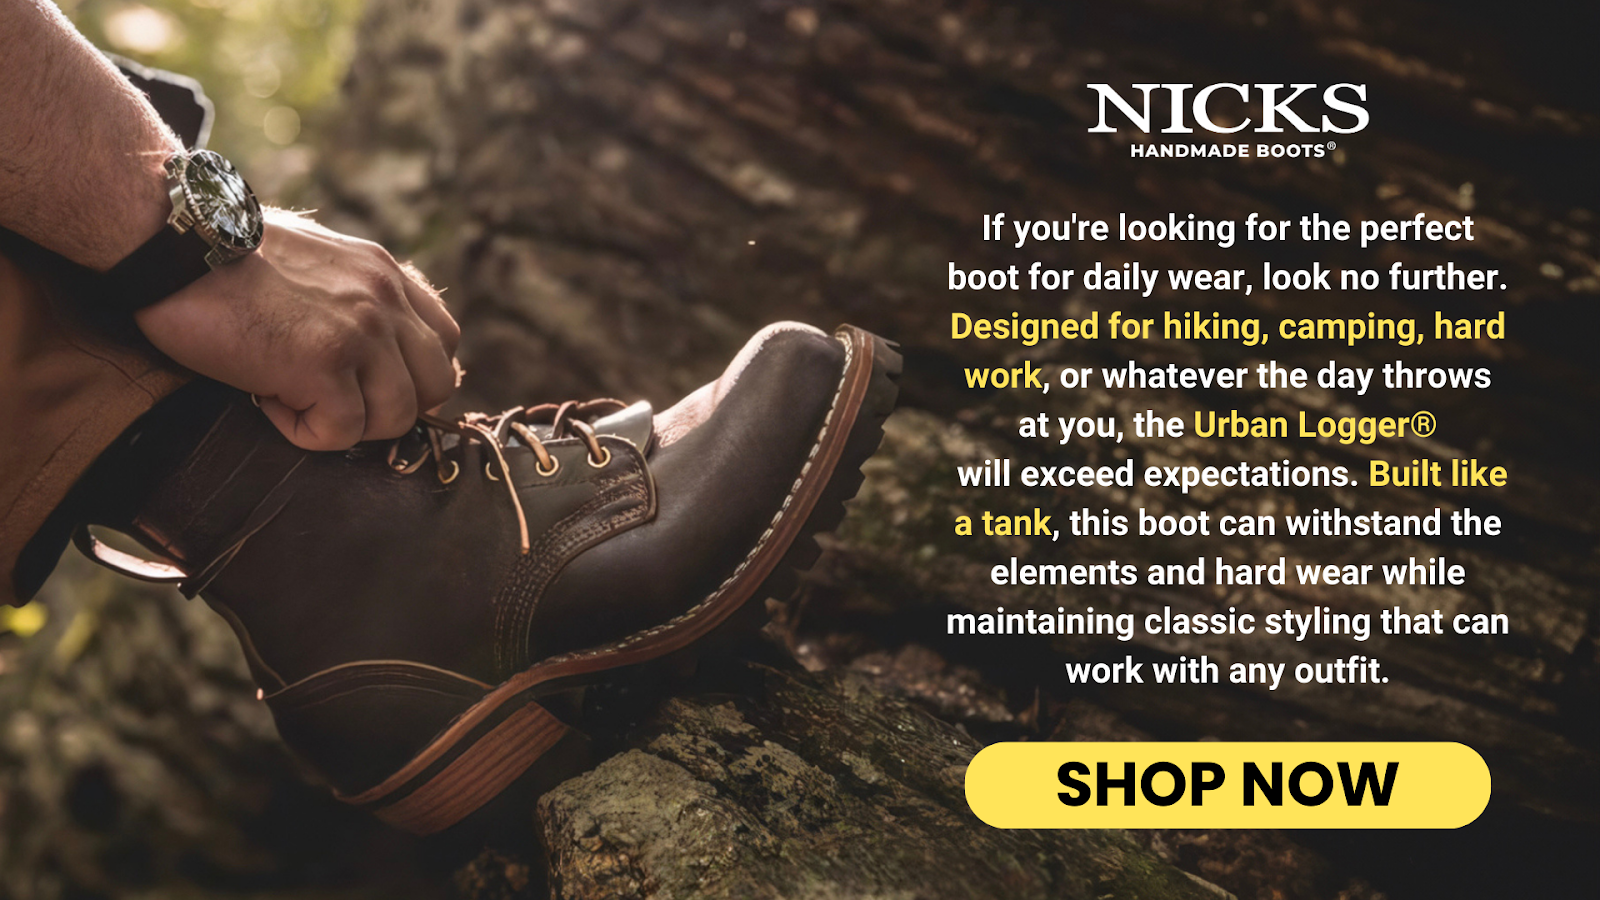
At Nicks Boots, we take pride in creating durable, high-quality leather boots that can handle the rigors of both work and leisure. Our unparalleled expertise in leather care allows us to provide valuable insights on maintaining and restoring your leather boots.
Leather boots are a substantial investment, and regular maintenance is key to extending their life. Whether you're looking to buff out a small scuff or need advice on a complete sole replacement, we'll provide expert tips and step-by-step guides to help you repair your boots at home.
In this guide, we will discuss key repair techniques such as sole replacement, stitching repairs, and leather conditioning. Additionally, we will explore ways to manage scuffs and scratches and determine when it is necessary to consult professional repair services.
Step-By-Step Guide To Sole Replacement
- Inspect and Remove the Old Sole: Begin by thoroughly inspecting the current sole to understand the attachment and wear pattern. Gently remove the old sole using a knife or a similar tool, taking care not to damage the leather upper.
- Clean and Prepare the Surface: Once the old sole is removed, clean any debris and old adhesive from the boot's bottom. This preparation is crucial for ensuring that the new sole adheres properly.
- Apply Adhesive: Select a high-quality shoe adhesive for leather. Apply it evenly across the surface of the boot and the new sole. Allow it to become tacky according to the adhesive instructions, which usually takes a few minutes.
- Attach the New Sole: Carefully align the new sole with the boot's bottom. Start from one end and slowly press down towards the other end to avoid air bubbles and ensure even contact.
- Finishing and Curing: Secure the sole with clamps or put weight on it to aid the bonding process. Leave it to cure as recommended by the adhesive instructions. Once cured, trim any excess material and finish with additional stitching if necessary for aesthetic and durability.
Fixing Common Stitching Issues
Identify The Problem Areas
Begin by closely inspecting the seams and stitching of your boots, identifying any areas where the thread is loose or seams have started to come apart. Early detection is critical to prevent further unraveling and simplify the repair process.
Gather The Right Tools
Collect the necessary tools including a sturdy needle specifically designed for leather, thread that is strong and ideally matched in color to your boots, and a thimble to protect your fingers during the sewing process.
Re-Stitching The Seams
Start the repair by double threading the needle and securing the thread with a knot. Carefully re-stitch following the original pattern, ensuring each stitch is pulled tight and consistent with the boot's original appearance.
Reinforcing The Repair
After re-stitching, apply a leather conditioner to the thread and the surrounding area. This treatment will protect the new stitches from moisture and dirt, while also helping to soften and blend the repair into the existing leather.
Inspecting Your Work
Conduct a thorough inspection of your stitching work, ensuring there are no loose ends or skipped stitches. Perform a stress test by gently pulling on the repaired seam to ensure the new stitches hold firm, adjusting as necessary to ensure durability and strength.
The Essentials Of Leather Conditioning
Understanding Leather Conditioning
Proper leather conditioning is essential for maintaining the quality and durability of your boots. It replenishes the natural oils lost over time, preventing the leather from drying out and cracking. Regular conditioning not only enhances the appearance of your boots but also extends their lifespan significantly.
Choosing The Right Conditioner
It’s important to select a leather conditioner that matches the type of leather of your boots. Products vary based on the leather’s finish and the level of moisture protection needed. Always conduct a spot test on a hidden area of the boot to ensure the product does not adversely affect the leather’s color or finish.
Applying The Conditioner
To apply the conditioner, use a soft cloth and gently work the product into the leather in circular motions. This method ensures that the conditioner is evenly distributed, penetrating deeply into the pores of the leather. Be careful to use just enough conditioner to lightly coat the surface without saturating it, as too much conditioner can harm the leather.
Allowing Time To Absorb
After conditioning, giving the boots enough time to absorb the conditioner is crucial. A good rule of thumb is to let the boots sit overnight, allowing the leather to fully take in the conditioner. This step is key for achieving optimal conditioning effects and ensuring that the leather remains robust and flexible.
Buffing To Finish
The final step in the conditioning process is buffing the boots with a clean, dry cloth. This not only removes any excess conditioner but also polishes the surface, restoring the leather’s natural luster and preparing it for use. Regular buffing after conditioning helps to maintain the aesthetic quality of your leather boots and protects them against environmental damage.
Maintaining Your Leather Boots For Longevity
Regular Cleaning
Regular cleaning is crucial for the longevity of leather boots. After each use, brush off any dirt, dust, or mud using a boot brush or a damp cloth. This prevents abrasive particles from penetrating the leather and causing premature wear. For deeper cleans, use a leather-specific cleaner that will not strip the natural oils from the leather.
Proper Storage
Store your boots in a way that preserves their shape and prevents damage. Use cedar shoe trees to absorb moisture and maintain the form of the leather. Avoid storing boots in direct sunlight or damp areas, as this can cause the leather to warp or mold. If space allows, keep them in a breathable bag to protect against dust without cutting off air circulation.
Avoiding Water Damage
Leather is naturally resilient, but excessive water exposure can be detrimental. Treat your boots with a water-repellant spray to minimize water absorption. If they do become wet, dry them slowly at room temperature, stuffed with newspaper to absorb moisture and maintain shape. Avoid direct heat sources, like radiators or heaters, as they can cause the leather to crack.
Timely Repairs
Proactive maintenance is key to extending the life of your boots. Regularly inspect them for signs of wear such as loose stitching or worn soles, and address these issues before they worsen. Consider professional repairs for complex issues like re-heeling or resoling, which can restore the functionality and appearance of your boots.
Seasonal Conditioning
Conditioning your leather boots is essential for keeping them flexible and resistant to cracks. Apply a quality leather conditioner every three to six months, depending on wear and environmental conditions. This regular maintenance routine ensures that the leather remains healthy, supple, and less prone to aging and environmental damage.
When To Seek Professional Leather Boot Repair
Significant Structural Damage
Significant damage such as a split insole, broken shank, or detached heel is beyond the scope of DIY fixes. These issues affect the fundamental structure of the boots, requiring professional tools and skills for proper repair. A professional cobbler can also assess the overall integrity of the boots, ensuring that all structural issues are comprehensively addressed.
Persistent Leaks
Persistent leaks in leather boots often indicate failed waterproofing or deeper issues that simple surface treatments can't fix. Professionals can apply industrial-grade sealants and rework the boot structure to ensure complete water resistance. This step is crucial for boots used in wet environments to prevent moisture from damaging the leather and compromising the boot's longevity.
Extensive Wear And Tear
Boots that have been extensively worn may need a full restoration, which includes re-stitching, sole replacement, and leather reconditioning. Professionals have the tools and expertise to perform these tasks effectively, often restoring boots to near-original condition. This service is particularly valuable for high-quality boots where replacement costs would be significant.
Delicate Leather Types
Exotic or very delicate leathers require specific care techniques that might not be safely replicated at home. Professionals have access to specialized products and have the expertise required to handle sensitive materials without causing damage. This ensures that the unique qualities of the leather are preserved while extending the life of the boots.
Guaranteeing Longevity
Opting for professional repair can significantly extend the life of your boots compared to home repairs. Professionals use high-quality materials and techniques that ensure repairs last, providing better value over time. Investing in professional services not only restores your boots but also maintains their durability and aesthetic appeal.
Final Thoughts
Proper maintenance and timely repair are essential for the longevity and appearance of leather boots. This guide highlights crucial techniques such as sole replacement, stitching repairs, and regular conditioning. These steps significantly extend the lifespan and performance of the footwear. It's important to know when to apply DIY fixes and when to seek professional assistance. Doing so ensures that your boots remain a durable and stylish part of your wardrobe. Ultimately, effective care and repair safeguard your investment and maintain the boots' functional and aesthetic appeal.

Read also:
Frequently Asked Questions About Leather Boot Repair
What are the signs that my leather boots need repair?
Noticeable cracks, loose stitching, or a worn-out sole indicate that your boots need repair. Address these issues promptly to extend the life of your boots. Regular inspections can help catch problems early.
How often should I condition my leather boots?
Condition your leather boots every 3 to 6 months, depending on their exposure to elements and frequency of use. Regular conditioning keeps the leather supple and prevents cracks. This routine maintains both appearance and durability.
Can I replace the soles of my leather boots at home?
Yes, you can replace the soles at home if you have the appropriate tools and materials. However, professional services are recommended for high-quality or complex sole replacements. This ensures a durable and aesthetically pleasing result.
What is the best way to handle water damage on leather boots?
Apply a water-repellent treatment to protect against moisture and dry any wet boots slowly at room temperature. Avoid direct heat sources, as they can cause the leather to crack. Proper drying and treatment can restore the integrity of the boots.
Is it necessary to use professional repair services for leather boot repair?
For complex repairs such as broken shanks or extensive wear, professional services are recommended. Professionals have the tools and expertise needed for high-quality restorations. This ensures your boots are properly repaired and their longevity is extended.
How can I prevent the stitching on my leather boots from unraveling?
Regularly inspect your boots for any signs of loose stitching. If you find any, use strong, color-matched thread to re-stitch the seams. This proactive approach prevents further unraveling and maintains the boot's structure.
What tools do I need for basic leather boot repairs?
Essential tools for basic repairs include a leather needle, strong thread, a thimble, and leather conditioner. These tools help you perform stitching repairs and maintain the leather's condition after the repair. Keeping these on hand will allow for timely DIY fixes.
How can I extend the life of my leather boots?
To extend their life, clean your boots regularly, use cedar shoe trees for storage, and apply a leather conditioner periodically. Avoid excessive water exposure and treat with a water-repellant to protect the leather. These practices help maintain the boots' condition and shape.
What should I do if the color of my leather boots fades?
Use a color-matched leather polish to restore the color and luster of faded boots. For more severe fading, consider professional dyeing services. These methods can refresh the appearance of your boots effectively.
How do I choose the right leather conditioner for my boots?
Choose a conditioner that is compatible with the type of leather and finish of your boots. Always perform a spot test on a concealed area before full application. This ensures the product does not adversely affect the leather’s color or texture.